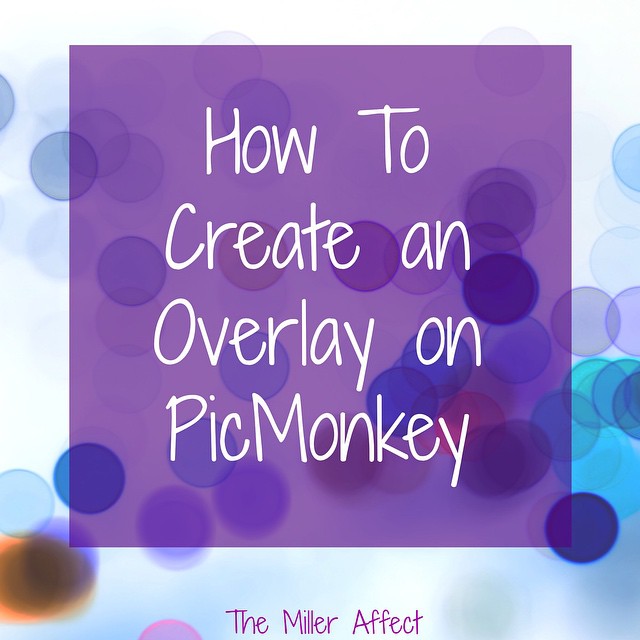
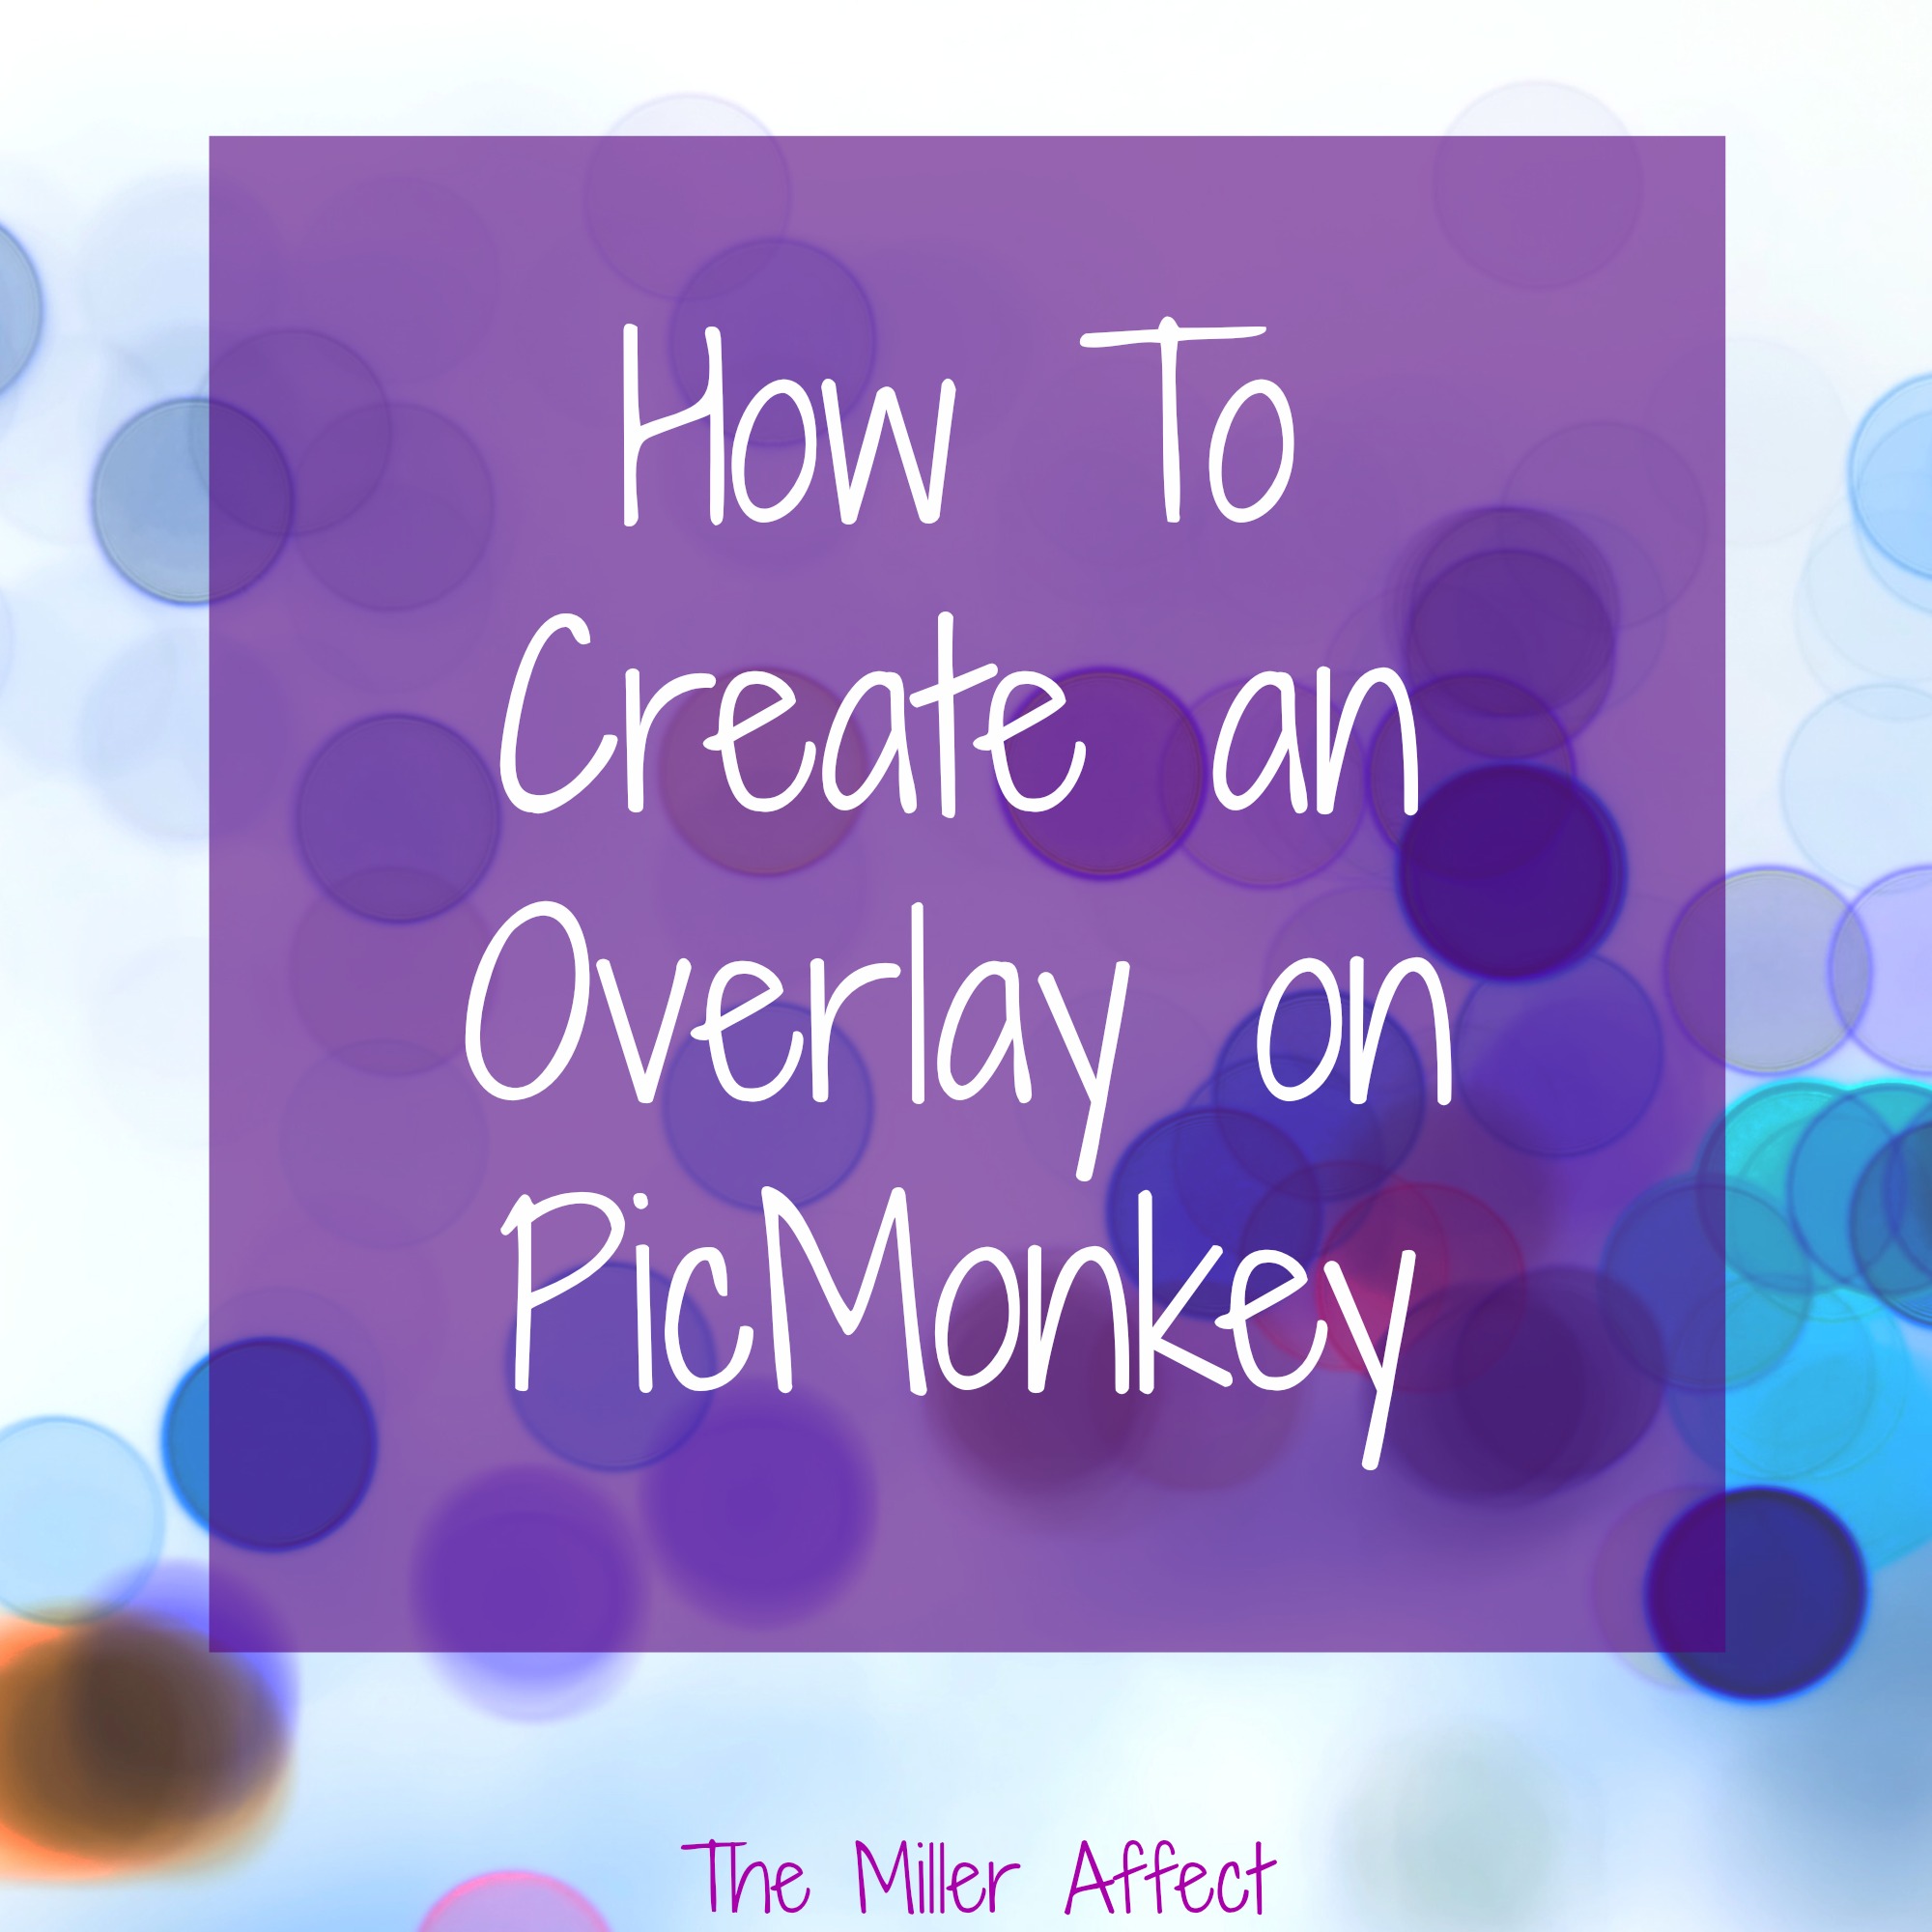
Many of you have emailed me and asked how to create an overlay picture, like the one above, so this post is a tutorial for you guys! The picture above took me less than ten minutes, but of course you can take less or more time depending on how perfect you want the picture. This one definitely needs a little tweaking, but this is just for the beginners out there who do not know where to start!
1. Head over to PicMonkey and get started by signing up (for free, or you can use the paid version which is what I use so that I can have access to more backgrounds). Canva is also another great site you can use for these, but it seems to be a little trickier so I am just going to work with PicMonkey for now.
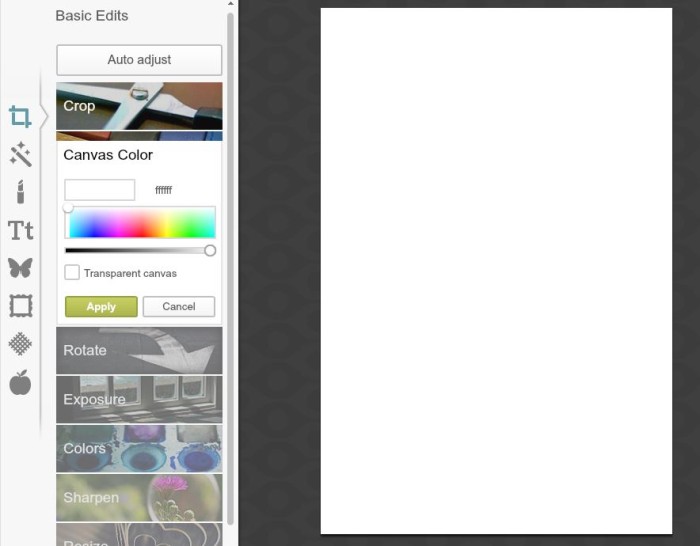
2. Once you are signed in, you will see this on your home screen

You can edit a picture you already have, you can touch up a picture, you can design a picture (which is what we will be doing), or you can create a collage for your blog (tutorial coming later). Hover over Design and you will see ANOTHER drop down. This is personal preference. Are you creating a graphic for Instagram? If so, pick that option. For the overlays I usually like the 4×10 because this seems the most pin-able size. I will be working with a 4×10 canvas today, so choose that option if you are going along with me! If you click on design without hovering, you will immediately get the square Instagram canvas.
3. Now you are IN! Whoaaa so many options, right? Today we are just covering the overlay, so we will only work with 3 of the tabs on the left for now.
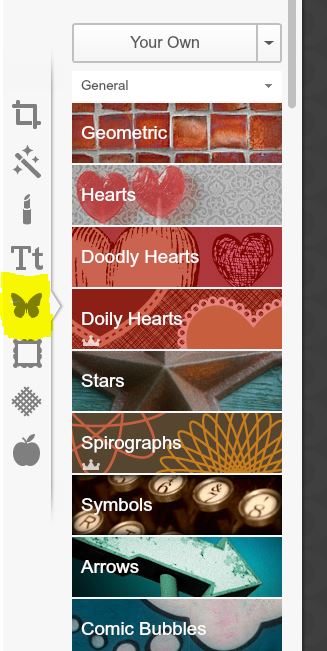
The first symbol is for cropping, rotating, canvas color, resizing, etc. The symbol that looks like a Harry Potter wand (yes, I said Harry Potter) is for adding effects or filters. The lipstick is for when you want to smooth out your wrinkles, brighten your eyes, and all the other touch ups you need! I do not use this since I consider it photo-shopping and I promised I wouldn’t Photoshop on my blog, but to each his own! Then you have the text tab, the overlays tab, the frames tab, the textures tab (which is what I use for my backgrounds) and then the themes tab which is also really fun to play with! I underlined the three we will be messing with today.
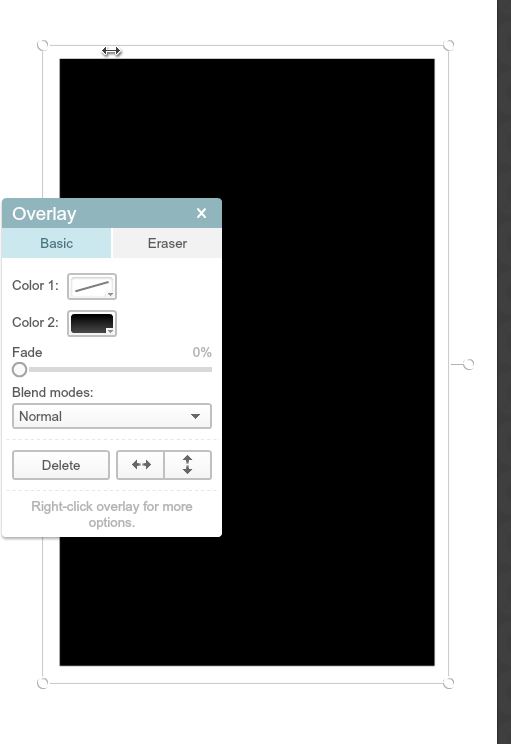
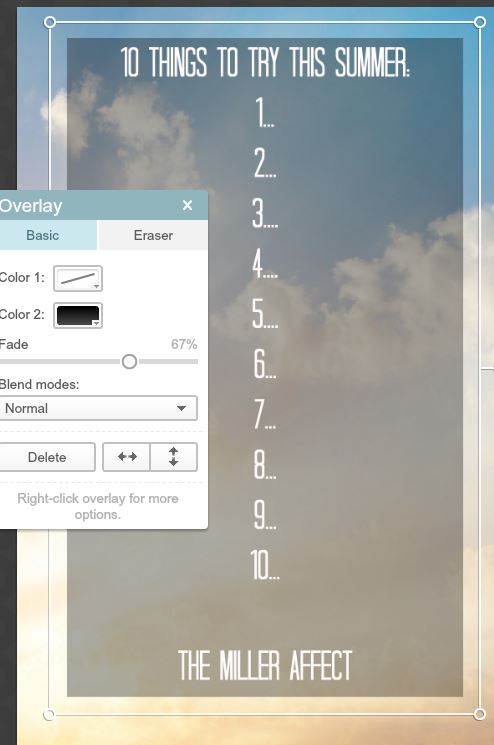
4. Hit the little butterfly so that we can can do the overlay first! Then click Geometric and choose the rectangle (you will choose the square if you are doing an Instagram Post). I highlighted where you can turn the rectangle around so that it is vertical and not horizontal. You will want to expand it to fit the frame. This box usually depends on how much text you will have. There are tons of different overlays you can use (as you can see) so make sure to come back and play with those later.

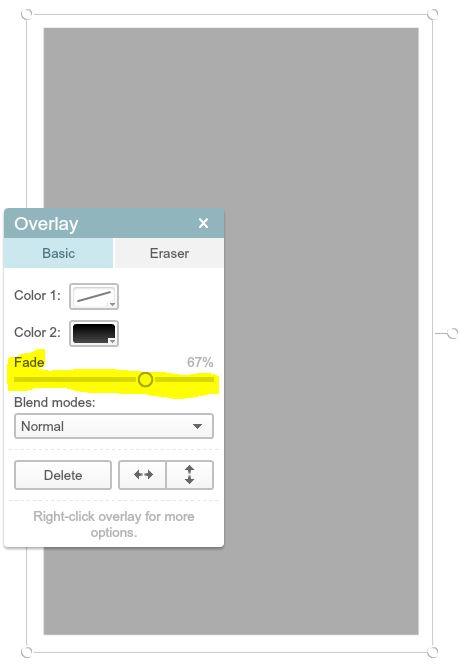
5. Once you have turned the rectangle and expanded it, you will need to fade it so that you will be able to have the background show through. See how it went from black to gray? It would continue to fade all the way to white if you wanted.
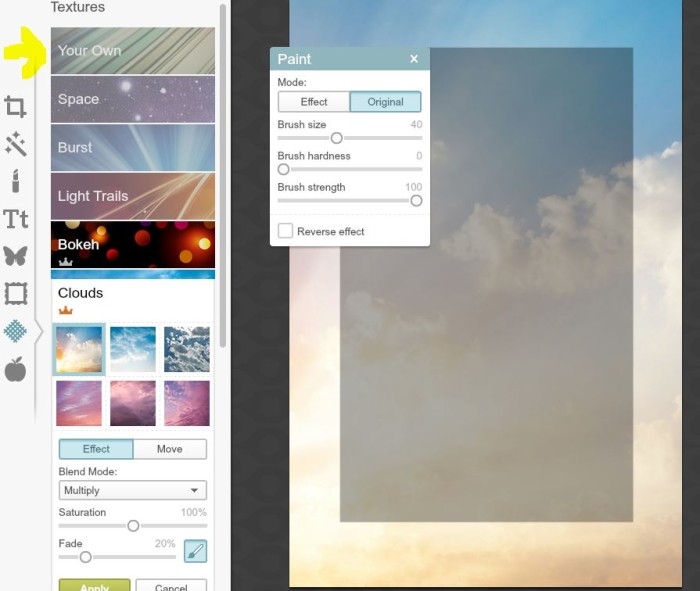
6. Alright, now we want to choose our background! You can use your own picture (which I highly suggest because it will be unique), or you can choose from one of PicMonkey’s backgrounds (what I did for simplicity purposes). This background is in the Clouds section under Textures tab. Make sure to hit Apply!
7. Now you will want to go under the Text tab and start typing in your text! There are tons of fonts to choose from but make sure you stick to the same font on all your overlays (looks much nicer). You can also change the font color to whatever you want, but I usually always do white! You can do as many text boxes as you want, but I just used one here. Entering text isn’t as easy as it looks. Once you move off the text box it will be hard to get back to it. It can be done, but it takes some work so try getting it right the first time.
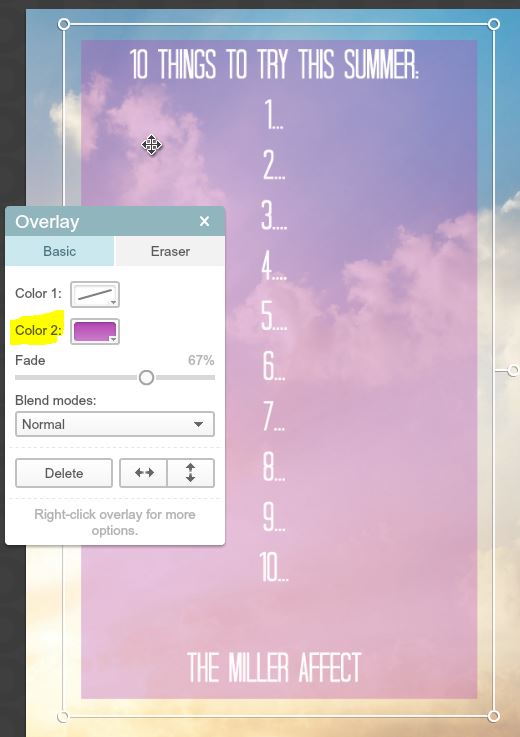
8. Once your text is in there, you can change the overlay to make sure it fits with the background. I made mine purple to stand out a little.
9. Now you are all done! Tip: I always put my blog name somewhere near the bottom. You want these images to be pin magnets, so you want to make sure your name is somewhere on there or someone else will just steal it and call it their own!
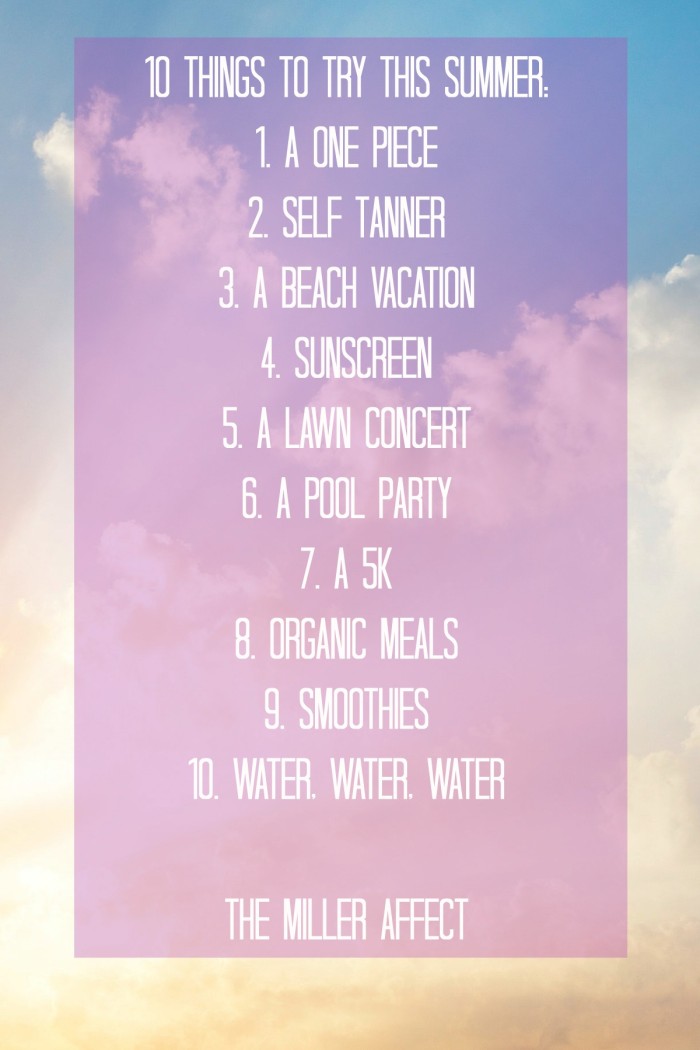
10. Go ahead and give yours a try on your next blog post and leave your link in a comment so that I can check it out and hopefully leave some pointers for you!!!! Many experts say that you should always have one of these at the bottom of EVERY POST either with a cute quote, a list like this one, or the name of your post title! Just make sure it is catchy and something you think people would want to pin!
Did you find How to Create an Overlay helpful? If so, make sure you also check out How to Grow Your Instagram.
Please leave a comment and pin these images so that you can come back to them!


Comments
Thanks for this tutorial Amanda, I’m off to try it out now 🙂
xx
You are a great teacher! Thanks for the tutorial 😉 | OhMyWhimsy.com
Thanks for this tutorial Amanda! 🙂
XO,
Amanda || http://www.fortheloveofglitter.com